You may have noticed that the flavor of cold brewed coffee is significantly different than hot brew. This is why... a majority of the compounds in the roasted coffee can only be extracted with hot water. When cold water is used only a few of the compounds are available through the cold brew process. This is why cold brew tends to be less acidic, and a bit more sweet than hot brewed coffee.
At the roastery we make cold brew on the regular and have really mastered the art. The following are step-by-step instructions to make DIY cold brew concentrate. Just so the readers know, there are many other brewing systems on the market like Coffee Sock or Toddy Brewer. What is explained in this blog post is an a way to make cold brew with things you will find around the house.
What you need to get started
- 1-Quart Mason Jar
- Cheese cloth
- Funnel or Chemex
- Coffee We recommend our Back Country Blend for making cold brew.
- Grinder that has coarse or "toddy" grinding capabilities
- Digital Scale (grams)

Grind your coffee
Grinding your coffee to the appropriate size is an important step of the cold brew process. The size of the grind dictates potency and taste of the cold brew. Too fine and the brew will be silty and be highly extracted. Too have a balanced taste and have less silt you want to grind your coffee at a coarsely. Some coffee grinders can be adjusted to get the appropriate size grind. Below is a photo of what your grind should look like.
Tip: if you don't have a burr coffee grinder, you can grind your coffee at the grocery store or add a note to your hunterbay.com order for a cold brew grind.

Dosage & Brew
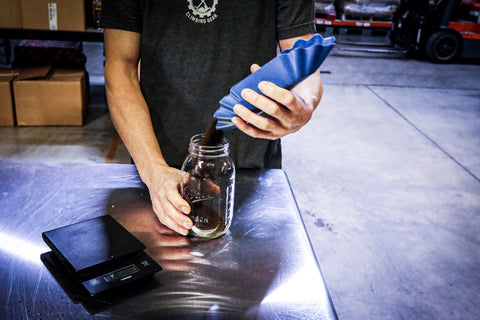
Using a digital scale, weigh out 100 grams or about a 1/3 of a 12oz bag of ground coffee and pour it into your mason jar. Fill the rest of the jar with 750 mL of cool water slowly while stirring. Close up the jar and store in a place where the brew will not have significant changes in temperature. Be careful not to overfill your jar. As the coffee blooms the grounds will expand and your cold brew may overflow.
Let set for 12-16 hours. The longer you let it sit the more the coffee grounds will extract into the water. The brew does not need to be placed in the refrigerator. Room temp is just right for a moderate amount of extraction to take place.


Filtration
To filter out the grounds from your cold brew, you will pour the contents of the full mason jar through the cheese cloth funnel, into another mason jar or chemex pour over (pictured below). Put the lid on the jar and let the cold brew sit in the refrigerator. You will notice sediment in your cold brew but after letting it sit, the sediment will fall to the bottom.


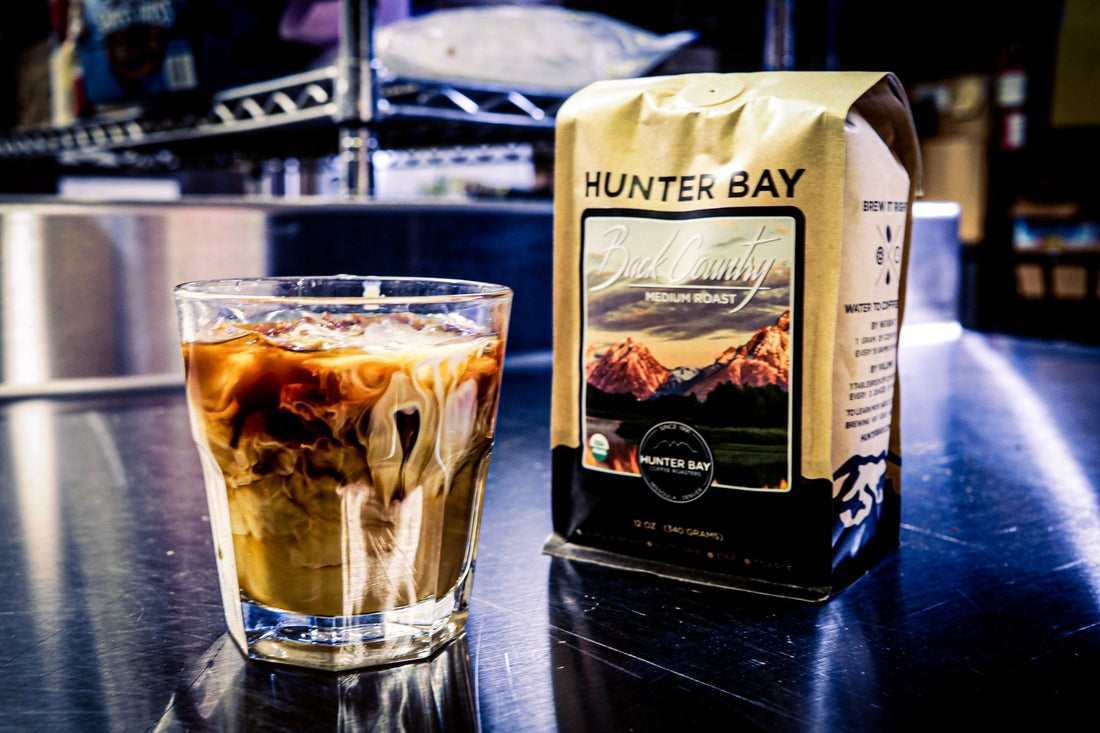
Now, what you have in your mason jar is fairly concentrated cold brew. 8 ounces can be used to make an iced americano. Just add some water and ice! Or just take it straight and hold on tight!
Enjoy!
There you have it. Delicious and refreshing cold brew that will surely put some pep into your step on these hot summer days!


